Add Project
- Go to left navigation bar and click on My Planned Actions
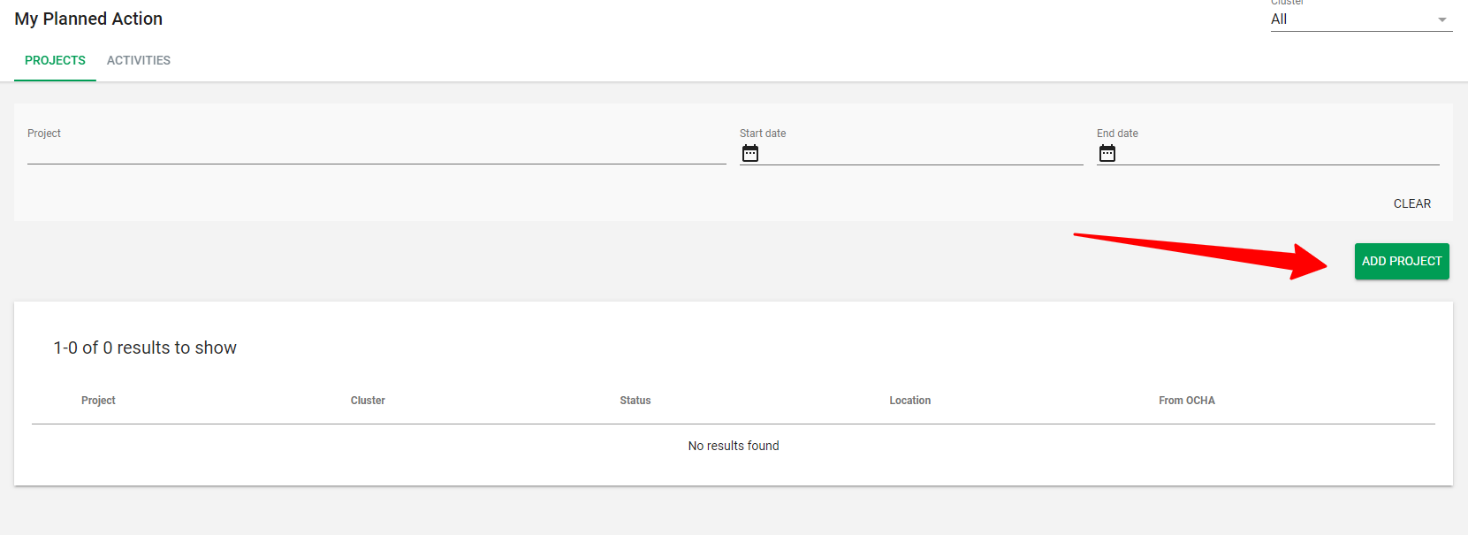
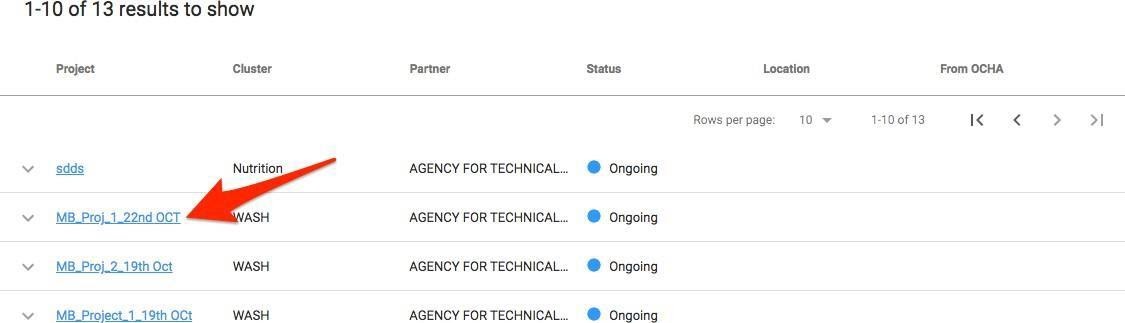
- My Planned Action page will open. You can view list of projects and you can also use the available filters at the top of the page to filter list of projects
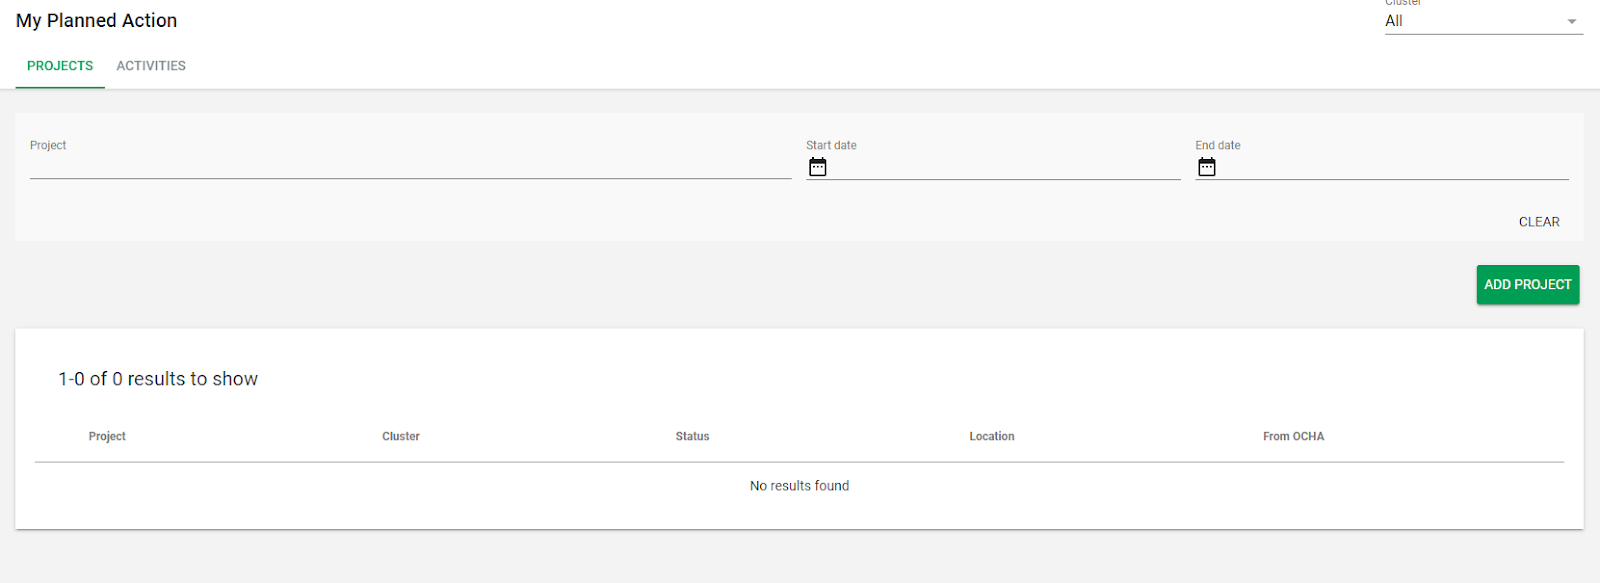
- To add the project, click on Add Project button
- The System will display a pop-up window. With the below fields to fill, once you completed the field click on Save:
- Title
- Cluster
- Start and end Date
- Status
- location
- Description
- Total Budget(optional)
- Funding source(optional)
- Additional Information(optional)
- You can click on show more funding detail to add more detail(optional)
- Also, you can add custom fields.
Add Project X
Basic Project details * Fields reQuired
Title*
Clusters•
Startdate• End date•
-
Status•
Locations (0)
ADD LOCATION
Description *
Total Budget
Funding Source
Additional Information (e.g. links)
Want to add moredetails to the Project info' SHOW MORE FUNDINGDETAILS V
CANCEL -
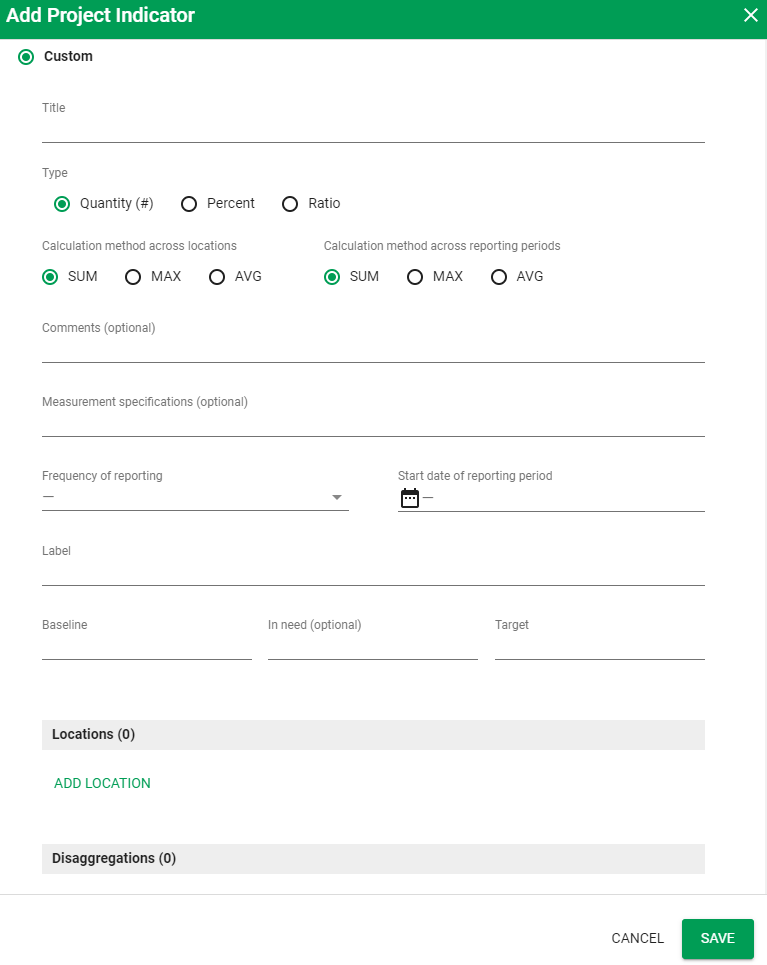
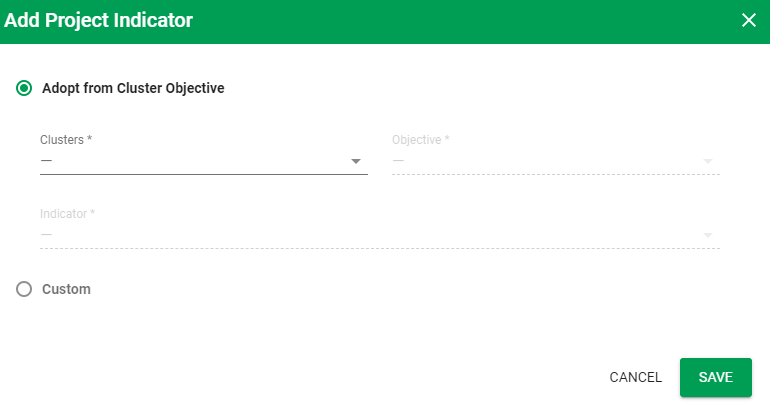
Add Project Indicators
Once you added a project, you will need to add indicators associated to that project.
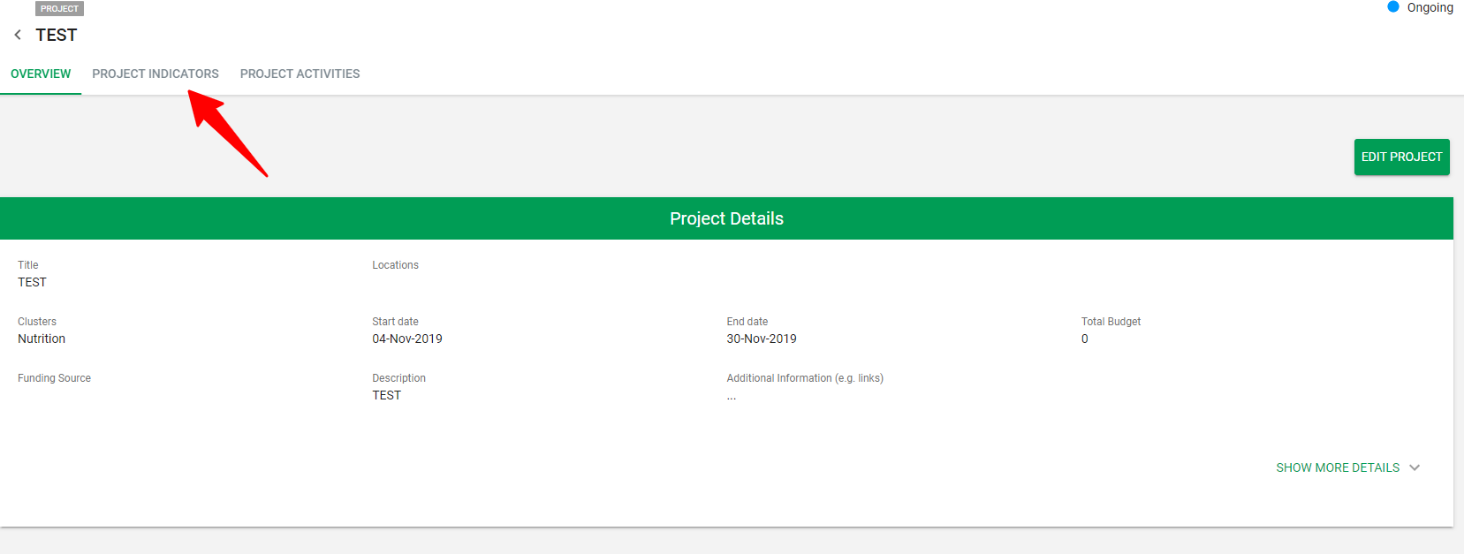
- Go to the Project tab and on the list of projects click on the project you wish to add indicators to
- Once the project opens, click on Project Indicators tab
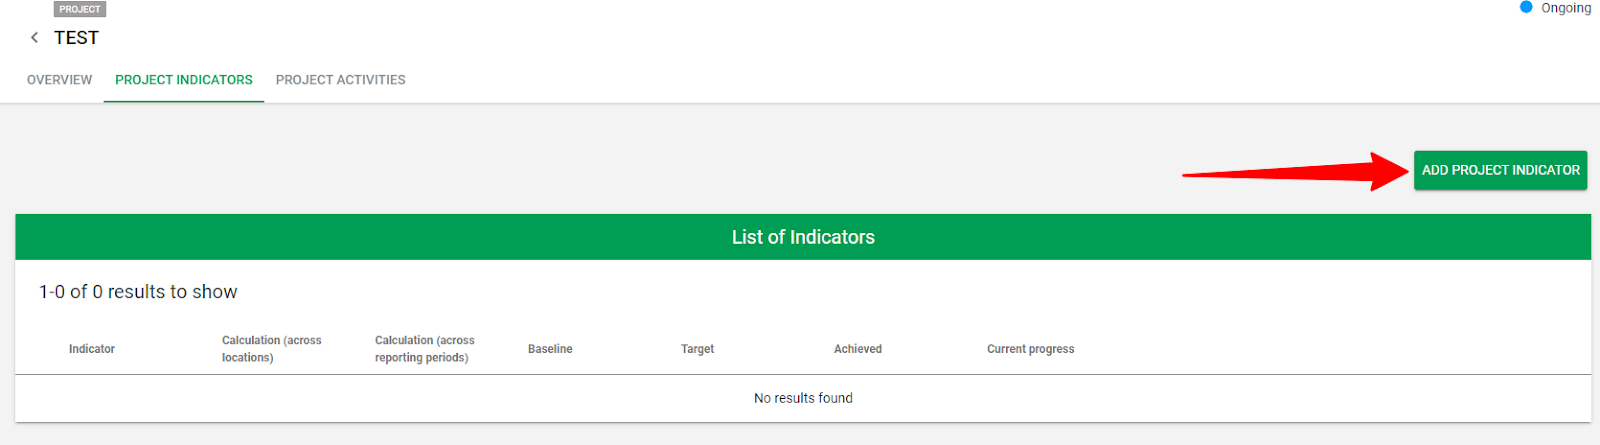
- Click on Add Project Indicator
- Once you click on Add project Indicator, the below Box pops up, you can either Select:
-
Adopt from cluster objective
- Custom
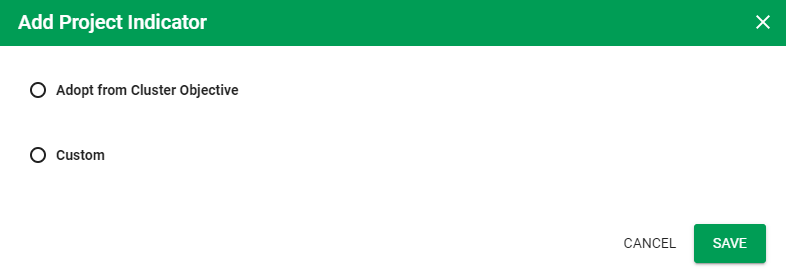
Then Click Save.
- If you select Adopt from Cluster, you need select from the drop-down list the below fields, then click Save:
-
Cluster
- Objective
- Indicator
- If you select Custom, then you need to fill the below fields and Save.